[ad_1]
How do you complete the Destiny 2 Root of Nightmares raid? The Destiny 2 Root of Nightmares raid, introduced as part of the Destiny 2 Lightfall expansion, is exciting showdown of skill, wits, and bravery as players take on a powerful enemy from an ancient time.
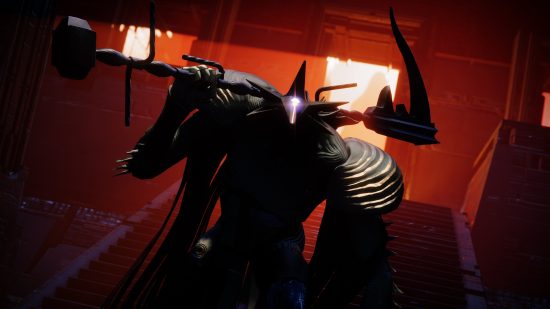
Bungie’s newest Destiny 2 raid, now available in the FPS game, is a showdown against Nezarec, a Disciple of the Witness. Nezarec has a unique moveset and there are several challenges before you even meet him properly, so we’ve run through the raid multiple times to bring you the best strats for the RoN raid.
Destiny 2 Root of Nightmares raid encounters
Here are the four Root of Nightmares raid encounters:
- Cataclysm – Survive the Onslaught
- Scission – Enter the Root
- Macrocosm – Zo’aurc
- Nezarec
Bungie gave little information about the raid before its launch, but initially shared the following description.
“Ferried from an unknown time and place, a haunting presence has been detected. We must now confront the ancient threat growing at our doorstep.”
The raid breaks down into an brief introduction and then four major encounters.
Destiny 2 Root of Nightmares encounter breakdown
Though team Hard in the Paint completed the raid in under two and a half hours as part of Bungie’s World’s First raid race, that doesn’t mean it’s easy as the members of that team are some of the highest-calibre players in the Destiny 2 ecosystem. Most normal players will struggle with the raid, especially if they plan to complete it while it’s in Contest Mode.
Here’s a breakdown of how to complete the various steps.
Introduction
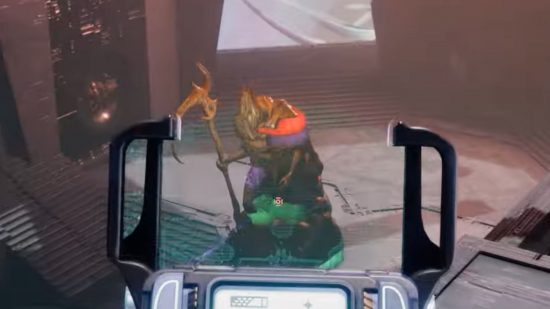
This stage is the raid opening. You’ll begin by traversing the entrance area, walking forward until you can go no further and then following the path to the left around the exterior of the ship. As you continue to round the curve, you’ll fight enemies, and in the distance, you’ll see a large statue. Use this to guide you forward. Once you pass this, follow the corridors to the right and then follow the curving pathway into the first encounter.
First encounter: Cataclysm – Survive the Onslaught
Once you reach this point, you’ll be instructed to “Survive the Onslaught.” This is an add-heavy area, so machine guns are useful here and throughout most of the raid. For enemies, you can use Divinity, Izanagi’s Burden, or Arbalest.
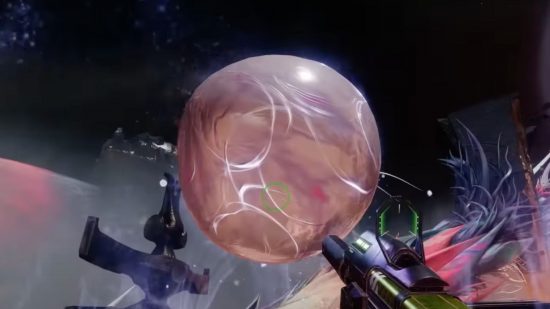
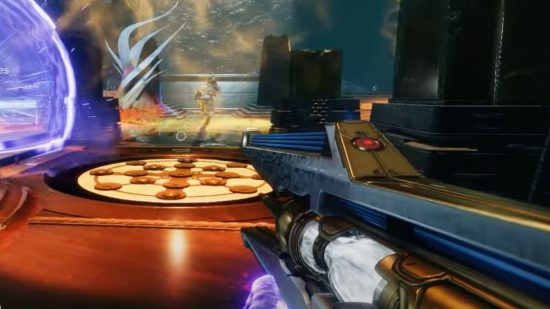
Shooting the orb that looks the Traveler while inside its glowing aura will grants the Field of Light buff. The goal is to transfer the orb to the other side of the arena by passing it through nodes, which look like spirals. From the time you start the encounter, keep an eye on the Sweeping Terror debuff as your fireteam will wipe if it reaches zero. Note that shooting the nodes does nothing if the player does not have the Field of Light buff, and that they will lose the buff each time they shoot a node. Also, if one player grabs the buff while other players already have it, it will disrupt the nodes and you must wait for them to reset. However, the buff can also be granted to multiple players at once.
Shooting the Traveler orb will activate a spiral node on a different plate, which the Traveler orb will direct you to in the form of a ray of light. Once you shoot that spiral node, it will transform into a Traveler orb and will have a light beam directing you to the next plate. But, the Guardian who activated the plate will no longer have the Field of Light buff and will have to rebuff by shooting the Traveler orb again.
To get this done as rapidly as possible, designate two players to be in charge of activating the orbs with the four others clearing adds throughout the encounter. One Guardian shoots at the Traveler orb while another Guardian stands outside it, granting that player who shot the orb the Field of Light buff. The Guardian with the buff should head toward the first spiral node plate. Then once that player activates it, the person still near the initial plate can immediately shoot the Traveler orb and get their own Field of Light buff, though note that this will eventually change locations around the arena. Shooting this will grant that second player the buff, so they can head to the next spiral node as called out by the first player who saw which direction the orb they just shot pointed.
In the meantime, the first player should seek out the Traveler orb plate so they’re ready to get their Field of Light buff just after their fellow Guardian activates the second node. These players should alternate and do this several times while the four other teammates continue to defeat adds, until the Sweeping Terror debuff goes away and the team can move up to progress the activity.
Whenever you see shielded psions, note that someone on your team must kill them via melee in order to spawn the Tormentor. The team must kill the Tormeter quickly, adding precious seconds to the timer before the impacts of the Sweeping Terror debuff wipe the team. Keep in mind that the Tormenters will spawn on either the left or right side.
Each time, players can expect to connect four or five nodes and will clear about four Tormenters total to finish the encounter.
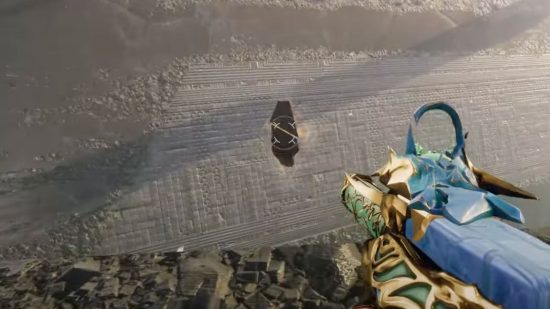
Once your team completes this, you’ll need to again make your way through the corridor, following the pathway around. Once you see a platform with a black diamond in front of it, shoot it and it will propel you across a large opening.
Follow the enemies and then again make your way across the winding pathways. Follow the corridors, tree limbs and platforms higher and higher, defeating several Aspirants of Nezarec along the way. You’ll then end up at a launcher platform where you’ll shoot a diamond and launch yourself across the way. At the end of this traversal, you’ll come across another Aspirant of Nezarec, which you must defeat.
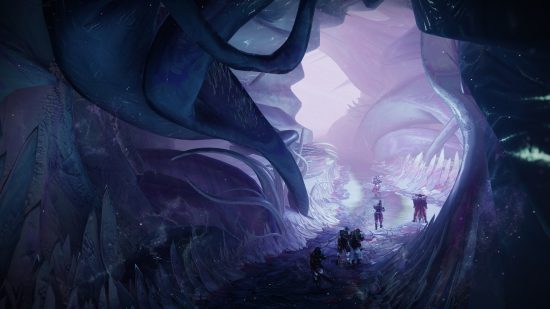
Then again, continue making your way higher, leading you into another corridor, at which point you’re instructed to “Enter the Root.”
Second encounter: Scission – Enter the Root
Note that timing is crucial for this encounter because of the limited timeframe for players to complete specific activities. It also involves launching off the platform to cross the chasm to continue the ascent.
Start by dividing into two teams of three. Two players on each team should stay on their side, while the third, dubbed the runner, will go back and forth across the chasm. The two players who stay behind should be tasked with clearing adds. Note that at certain points, you’ll need to fight more difficult enemies such as Barrier Colossuses. Further, some enemies will be shielded and can only be damaged by players with a specific buff. In the backdrop of all of this, be aware of the Imminent Expulsion timer working against you, which will trigger at the beginning of each sequence and gives two minutes to progress each time.
One player on one side should shoot the orb to earn the Field of Light buff. At the same time, the other player should shoot the orb on the opposite side to trigger the Flux of Darkness buff.
Like the previous encounter, these will point to nodes you must shoot to progress the activity. Again, only players who have the correct buffs can activate these nodes. This is generally similar to the first encounter but with a dark side and a light side.
Because the respective orbs are across a chasm, the runners will have to shoot a black diamond to trigger a launcher. However, they must be positioned correctly against the launcher to make it across each time without dying. Our top tip is to stand as far back as possible to ensure the launch is smooth. Grapples and swords with Eager Edge can also help here.
Because some enemies require that players have the buff to defeat them, it’s helpful for all players on each side to have the buff at once. Recall that everyone in the aura when it’s shot can get the buff.
- Each side’s single runner follows the orb indicators and shoots the orbs.
- This player then returns to the orb that grants the buff.
- The add killers can also return to the orb, where shooting the orb will refresh all players’ buffs.
- With the buff refreshed, the runner will then continue and the players on both sides will hold the buffs required to defeat the enemies that require the buff to defeat them.
- Players must clear the Centurions to be able to ascend to the next level. You will have to make it past three total levels.
If you time this area right and swap consistently, then you should be able to make it to the point where you can continue to ascend up the root.
This area is followed by a platforming sequence, which contains the Field of Light buff and the Darkness’s Refuge buff. Note that if you complete this platforming area incorrectly, Nezarec’s shockwave will kill all members of your fireteam. Here, you simply must chain the Field of Light buff and the Darkness’s Refuge buff over and over as a fireteam as you make your way through the puzzle in order to progress. This will create a refuge which you can use to safely traverse this section without getting wiped by the shockwave.
Third encounter: Macrocosm – Zo’aurc
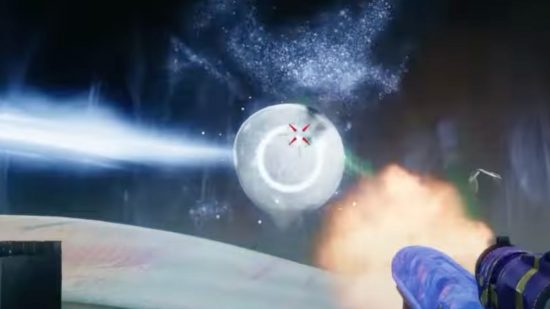
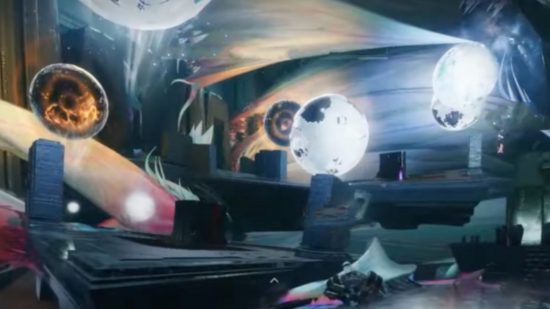
This is a rather challenging puzzle that forces players to line up planets to allow for a damage phase. Machine guns are helpful with this encounter, though Gjallarhorn is a good bet for DPS. The room will be split into three areas (left, center, right). The planets are at the tips of triangles (two on each side) and, to start, the side on the left will be four light and two dark, and the right will be four dark and two light, though you won’t see this at first. Above the boss, you’ll see a light planet and a dark planet, which indicates the side on which the planets belong.
Clear adds until the centurions spawn, and you’ll then see colossuses spawn on each triangle for four in total. One player must kill the colossus to get the Planetary Attunement buff and is now able to see whether the planets are light or dark. You’ll want to shift all darks to one side and all lights to the other. Take the buff of the planets on the incorrect side and carry them to the location of the planets on the opposite side that are improperly placed, while simultaneously carrying the buffs from the planets in those positions to their correct positions on the opposite side.
After the players from both sides insert the buffs, the planets will physically shift positions. Another centurion and colossus will spawn, and killing this colossus will show you whether the three centre planets are light or dark. You’ll know you’ve done this right when you see a message that says, “The indexed planets reveal themselves. These planets will typically reveal themselves as two dark and one light or two light and one dark. Players then must grab planetary buffs from either of the side triangles, either one light and two dark or one dark and two light (depending on the planets revealed in the centre), and dunk those buffs into the centre planets that match their affinity.
At this point, the DPS phase begins. The light planet plates will glow white, and the dark planet plates will glow orange.
If you note the boss is orange, you must touch the orange plates to deal damage. If it’s white, you must touch the white areas to deal damage. Upon using a plate, you cannot use it again, so do this until you reach the final point at which the boss is orange, all plates are orange, and you can deal damage from anywhere.
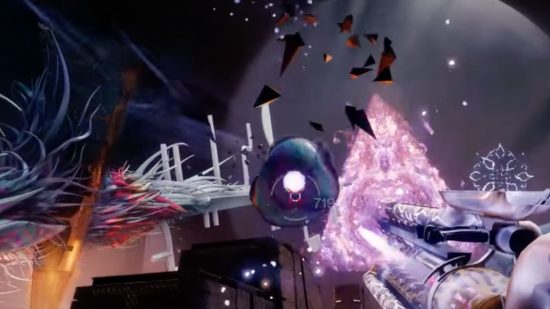
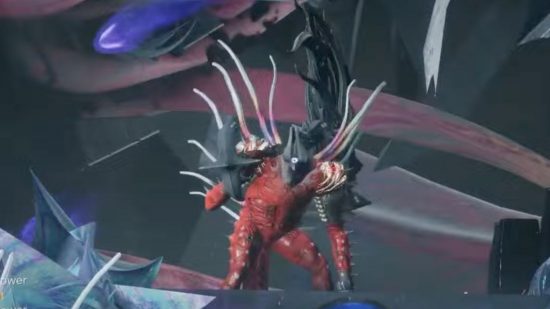
Final encounter: Nezarec
Players have suggested Nezarec is among the lowest-HP raid bosses they’ve encountered. As such, machine guns will continue to work well. However, having a player with a Well of Radiance will be helpful for this encounter.
Drawing from the previous encounters, one or two fireteam members will need to connect the orbs to gain the Field of Light buff to activate the nodes as indicated.
The damage phase begins when players chain both sides from the beginning to the end. Many players complete this and enter the DPS phase quickly enough to completely ignore the following mechanic. However, if they cannot do this quickly enough, they must engage the next mechanic.
Team members who are not chaining the buffs should be damaging Nezarec in his critical hit spots on his shoulders and chest, which will ultimately extend the timer. After completing his chest and shoulders, he releases a dark or light aura. You must then quickly seek the buff matching his energy type. If he’s dark, you must grab a Field of Light buff and then shoot an inactive dark node, and if he’s light, then you must grab a Flux of Darkness buff and bring it to an inactive light one. Shooting the node will grant immunity from Nezarec’s wipe mechanic to players within the aura.
Stand on a predetermined plate for the DPS phase, where he’ll struggle to hit and do damage to you. Note that he requires several damage phases and a has shorter wipe timer after the first round.
Root of Nightmares secret chest locations
There are several secret chests throughout the raid. Their locations are as follows.
Secret chest #1
Moving toward the second encounter, you’ll find a psion shooting at you from high above. Kill the Tormenter that spawns in and head toward the psion to find the chest.
Secret chest #2
During the second jumping puzzle, turn at the stairs and find the darkness switch to open a door. Opening this brings you to chest, which you can find by jumping around the outside area before entering the room.
Root of Nightmares raid exotic shotgun
The newest exotic in the Destiny 2 Lightfall exotic list is the Conditional Finality, a dual-barrel shotgun that splits damage between Stasis and Solar. Landing most Stasis pellets will freeze targets, and all Solar pellets will ignite pellets. When combined with specific Aspects and Fragments, this weapon stands to make some powerful builds even more powerful.
The exotic has a low drop rate, but players who complete various triumphs will have an increased chance of earning the exotic. However, they can only earn from the final encounter against Nezarec.
Root of Nightmares loot table
In addition to the exotic, the Root of Nightmares grants several special weapons and armour pieces. Here’s what you can get.
- Briar’s Contempt Solar linear fusion rifle (first encounter, final encounter)
- Koraxis’s Distress Strand grenade launcher (first encounter, second encounter, final encounter)
- Nessa’s Oblation Void shotgun (first encounter, second encounter, final encounter)
- Mykel’s Reverence Strand sidearm (second encounter, third encounter, final encounter)
- Acasia’s Dejection Solar trace rifle (second encounter, third encounter, final encounter)
- Rufus’s Fury Strand auto rifle (third encounter, final encounter)
Root of Nightmares also grants a unique armour, some of which interacts with specific shaders to create neat effects. Therefore, it’s worth pursuing. Here are the pieces you can potentially earn with each encounter.
- First encounter: Chest, arms, helmet
- Second encounter: Chest, arms, legs
- Third encounter: Chest, legs, class
- Fourth encounter: Head, legs
Players can also earn raid-specific mods:
- Chill Out: Defeating a combatant with a Stasis weapon spawns a Stasis crystal. Must have a Stasis subclass equipped.
- Precise Jolts: Rapid precision hits with Arc weapons jolt target. Must have an Arc subclass equipped.
- Volatile Volleys: Defeating powerful combatants with a Void weapon gives your Void weapons Volatile Rounds. Must have a Void subclass equipped.
- Radiant Heat: Powerful combatant final blows with Solar weapons grants Radiant. Must have a Solar subclass equipped.
- Tangled Up: Defeating a combatant with a Strand weapon spawns a Tangle. Must have a Strand subclass equipped.
- Cabal Extinguisher: When an ally grains Flux of Darkness or Field of Light, deal increased weapon damage to Cabal combatants for a short time.
- Release Recover: When you lose Flux of Darkness or Field of Light, begin recovering health.
- Focused Darkness: When you have Flux of Darkness, gain increased ability damage or mobility.
- Focused Light: When you have Field of Light, gain increased weapon damage and resilience.
That’s everything to know about the Destiny 2 Root of Nightmares raid and the multiplayer game‘s specific encounters. You’ll also want to check out our guides to earning the Destiny 2 Final Warning exotic Strand sidearm, the Destiny 2 Deterministic Chaos exotic Void machine gun, and the Destiny 2 Winterbite exotic Stasis glaive, too.
[ad_1]

